
This took me a long time to figure out. I do not have particularly great coding experience so writing macros was out of the question. I first tried to save the excel files in other formats such as “single file webpage” but I only had limited success with that due to loads of code that excel added to the documents (most of it being irrelevant anyway). Furthermore, the cell spaces would usually not adjust themselves, row heights would vary and modifying the html table afterwards was difficult and clumsy.
I am assuming you already know how to set up a basic html file. Once you have set up and named your basic html code file, add the ’’tbody’’ beginning and end tags in the body of the code. All your table code has to be in between these two tags when it gets pasted in (see Step 4). Try and simplify your excel table as much as possible before trying to transpose it into html.
Step 2 - Set up your headings. This code needs to be copied and pasted in beforehand for the rest to work:
<table border="1">You can add more <th> tags if you have more than 3 columns as long as the closing </tr> tag goes at the end. The heading names can obviously be changed to what they need to be.
Step 3 - Set up td tags in excel (<td> & </td>)
Suppose you have a simple table in excel like the one below:
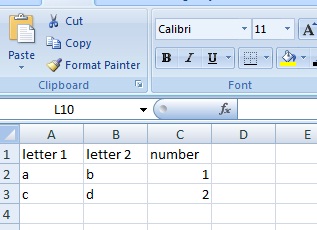
Save the original table under a
different name as the
changes you will have to make will make the table a bit harder to read.
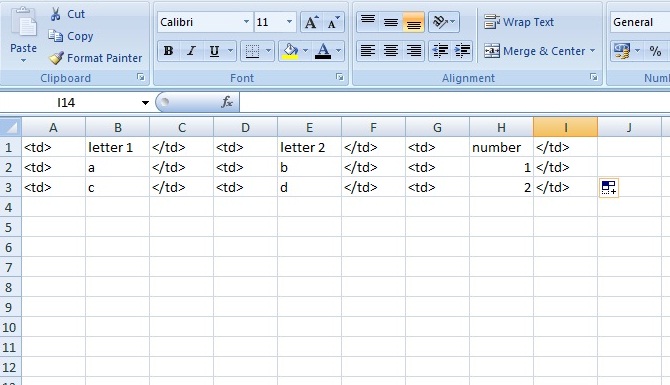
You
will need to put the beginning and end “td” tags between every cell in
a
particular row first before you can copy the cells over into the html
code. You
only need to do this for the first row, for all the other ones you can
simply
drag and drop. The table will then look similar to the one below:
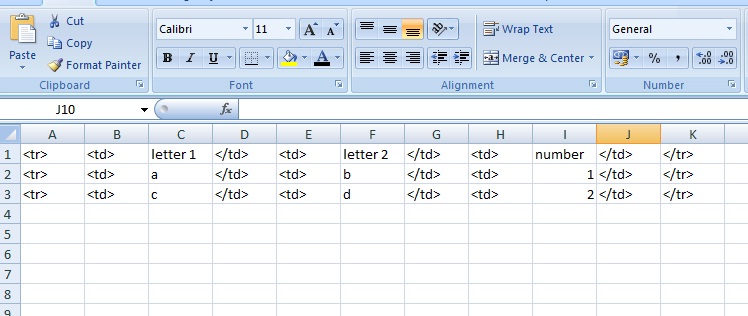
3. Step 4 - Set up tr tags in excel (<tr> & </tr> tags)
Now we have coded the data so that a browser will know which data goes into which cells. Now we need to define when a new row needs to be started. This is done with the ‘’tr’’ tags. Each row will need a beginning and end tr tag. Once you have finished this, the spreadsheet should look similar to the one below:
4. Step 5 - Copy the cells across to the html editor
Now you simply need to select all the cells (including those with the td and tr tags), select copy, open the html editor and paste this in between the </tr> and </tbody> tags that you saw in step 2. The editor will simply take the data from the excel cells and ignore everything else, thereby instantly generating the code required! That’s it.